-

Getting Started 14
-

Maintenance 14
-

Troubleshooting 14
-

Repair 8
-

Laser 101 3
-

Materials 10
-

Accessories 20
-

Multi-Roller 7
-

LightBurn 9
Replace MIRA 24V Power Supply

☠️ WARNING ☠️ Turn OFF and UNPLUG the machine before starting.
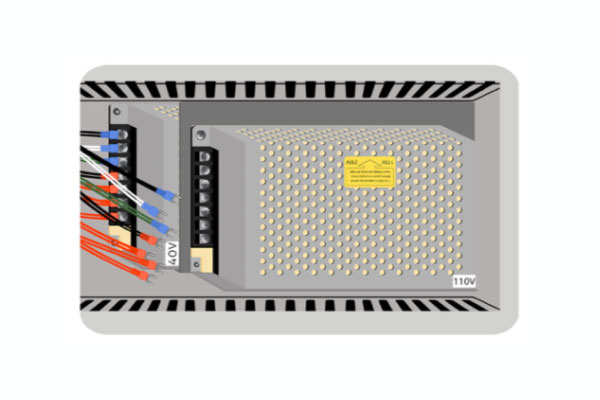
- Open the lower left side panel with the cabinet key, and locate the 24V power supply.
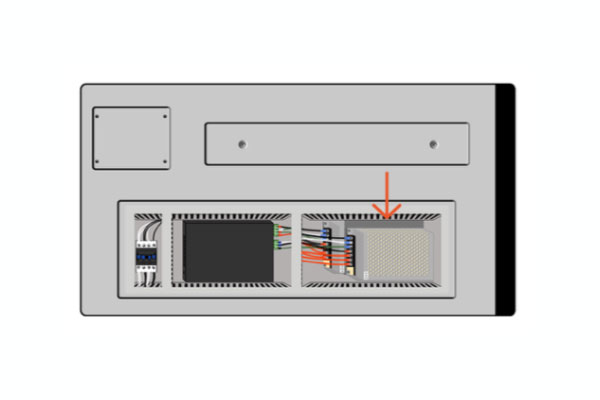
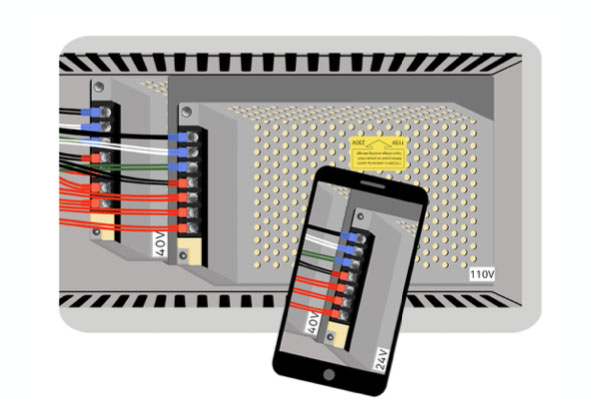
Side of machine - Take a picture of the wiring connections on the 24V power supply, to reference during reinstallation.
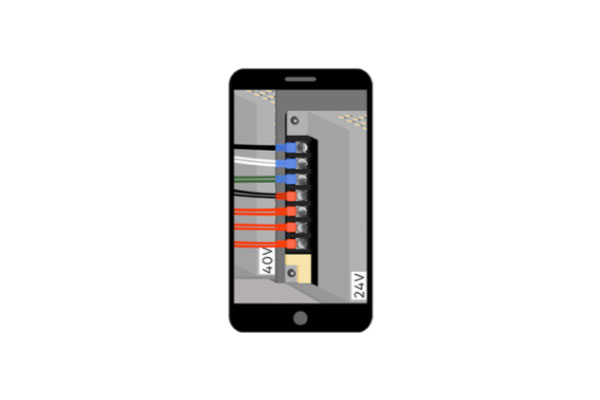
Phone camera - Use a phillips-head screwdriver to loosen wire terminals and remove wires.
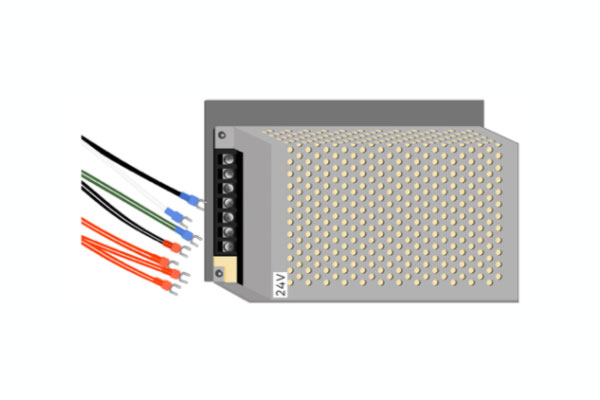
Power supply, wires - Use an Allen wrench to remove the mounting bolt in the lower left corner and the top right corner, and remove the unit.
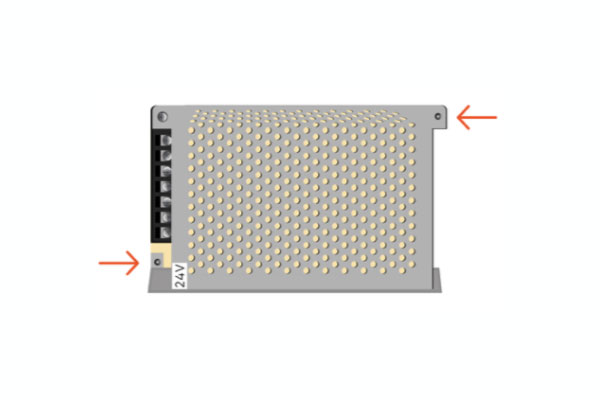
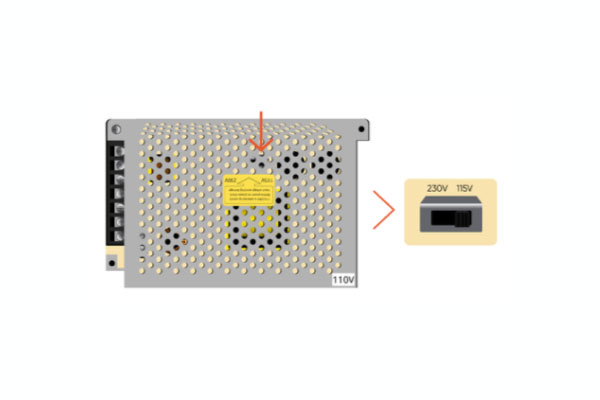
Power supply - Before installation of new unit, look through the grate to ensure that internal voltage switch is set to "115V".
Internal voltage switch - Use an Allen wrench to secure the mounting bolts in the lower left corner and the top right corner to mount the new unit.
Power supply, mounted - Attach the wires to the new unit using the photo from Step 2 and a phillips-head screwdriver to tighten the screws at the wire terminals.
Phone, machine - Close the panel and secure in place with the cabinet key.
If you have any questions or if your laser is malfunctioning, please contact the manufacturer directly to get help or submit a support ticket.
Did you find this document helpful? Let us know what you liked or what we can improve on by sending an email to helpusgrow@emplaser.com.


